Blower Door Tests and Barndominiums

Blower door tests are an essential part of assessing a building's air tightness, essential for energy efficiency and climate control. These tests have become a standard practice for new constructions and renovations alike, ensuring that homes meet the energy codes set by local or national authorities. However, when it comes to unique home designs such as barndominiums, which combine the aspects of barns with traditional condominium living spaces, there are distinctive challenges that need to be addressed to pass a blower door test successfully. This blog post delves into these unique challenges and offers insights into overcoming them.

Challenges in AIR Sealing

  • Large, Open Spaces: The expansive nature of barndominiums means there's more volume and surface area to seal. Larger spaces are more challenging to make airtight due to the increased potential for air leakage through gaps and cracks in the building envelope. Ensuring that these vast areas are well-sealed requires meticulous attention to detail and often more resources in terms of time and materials.

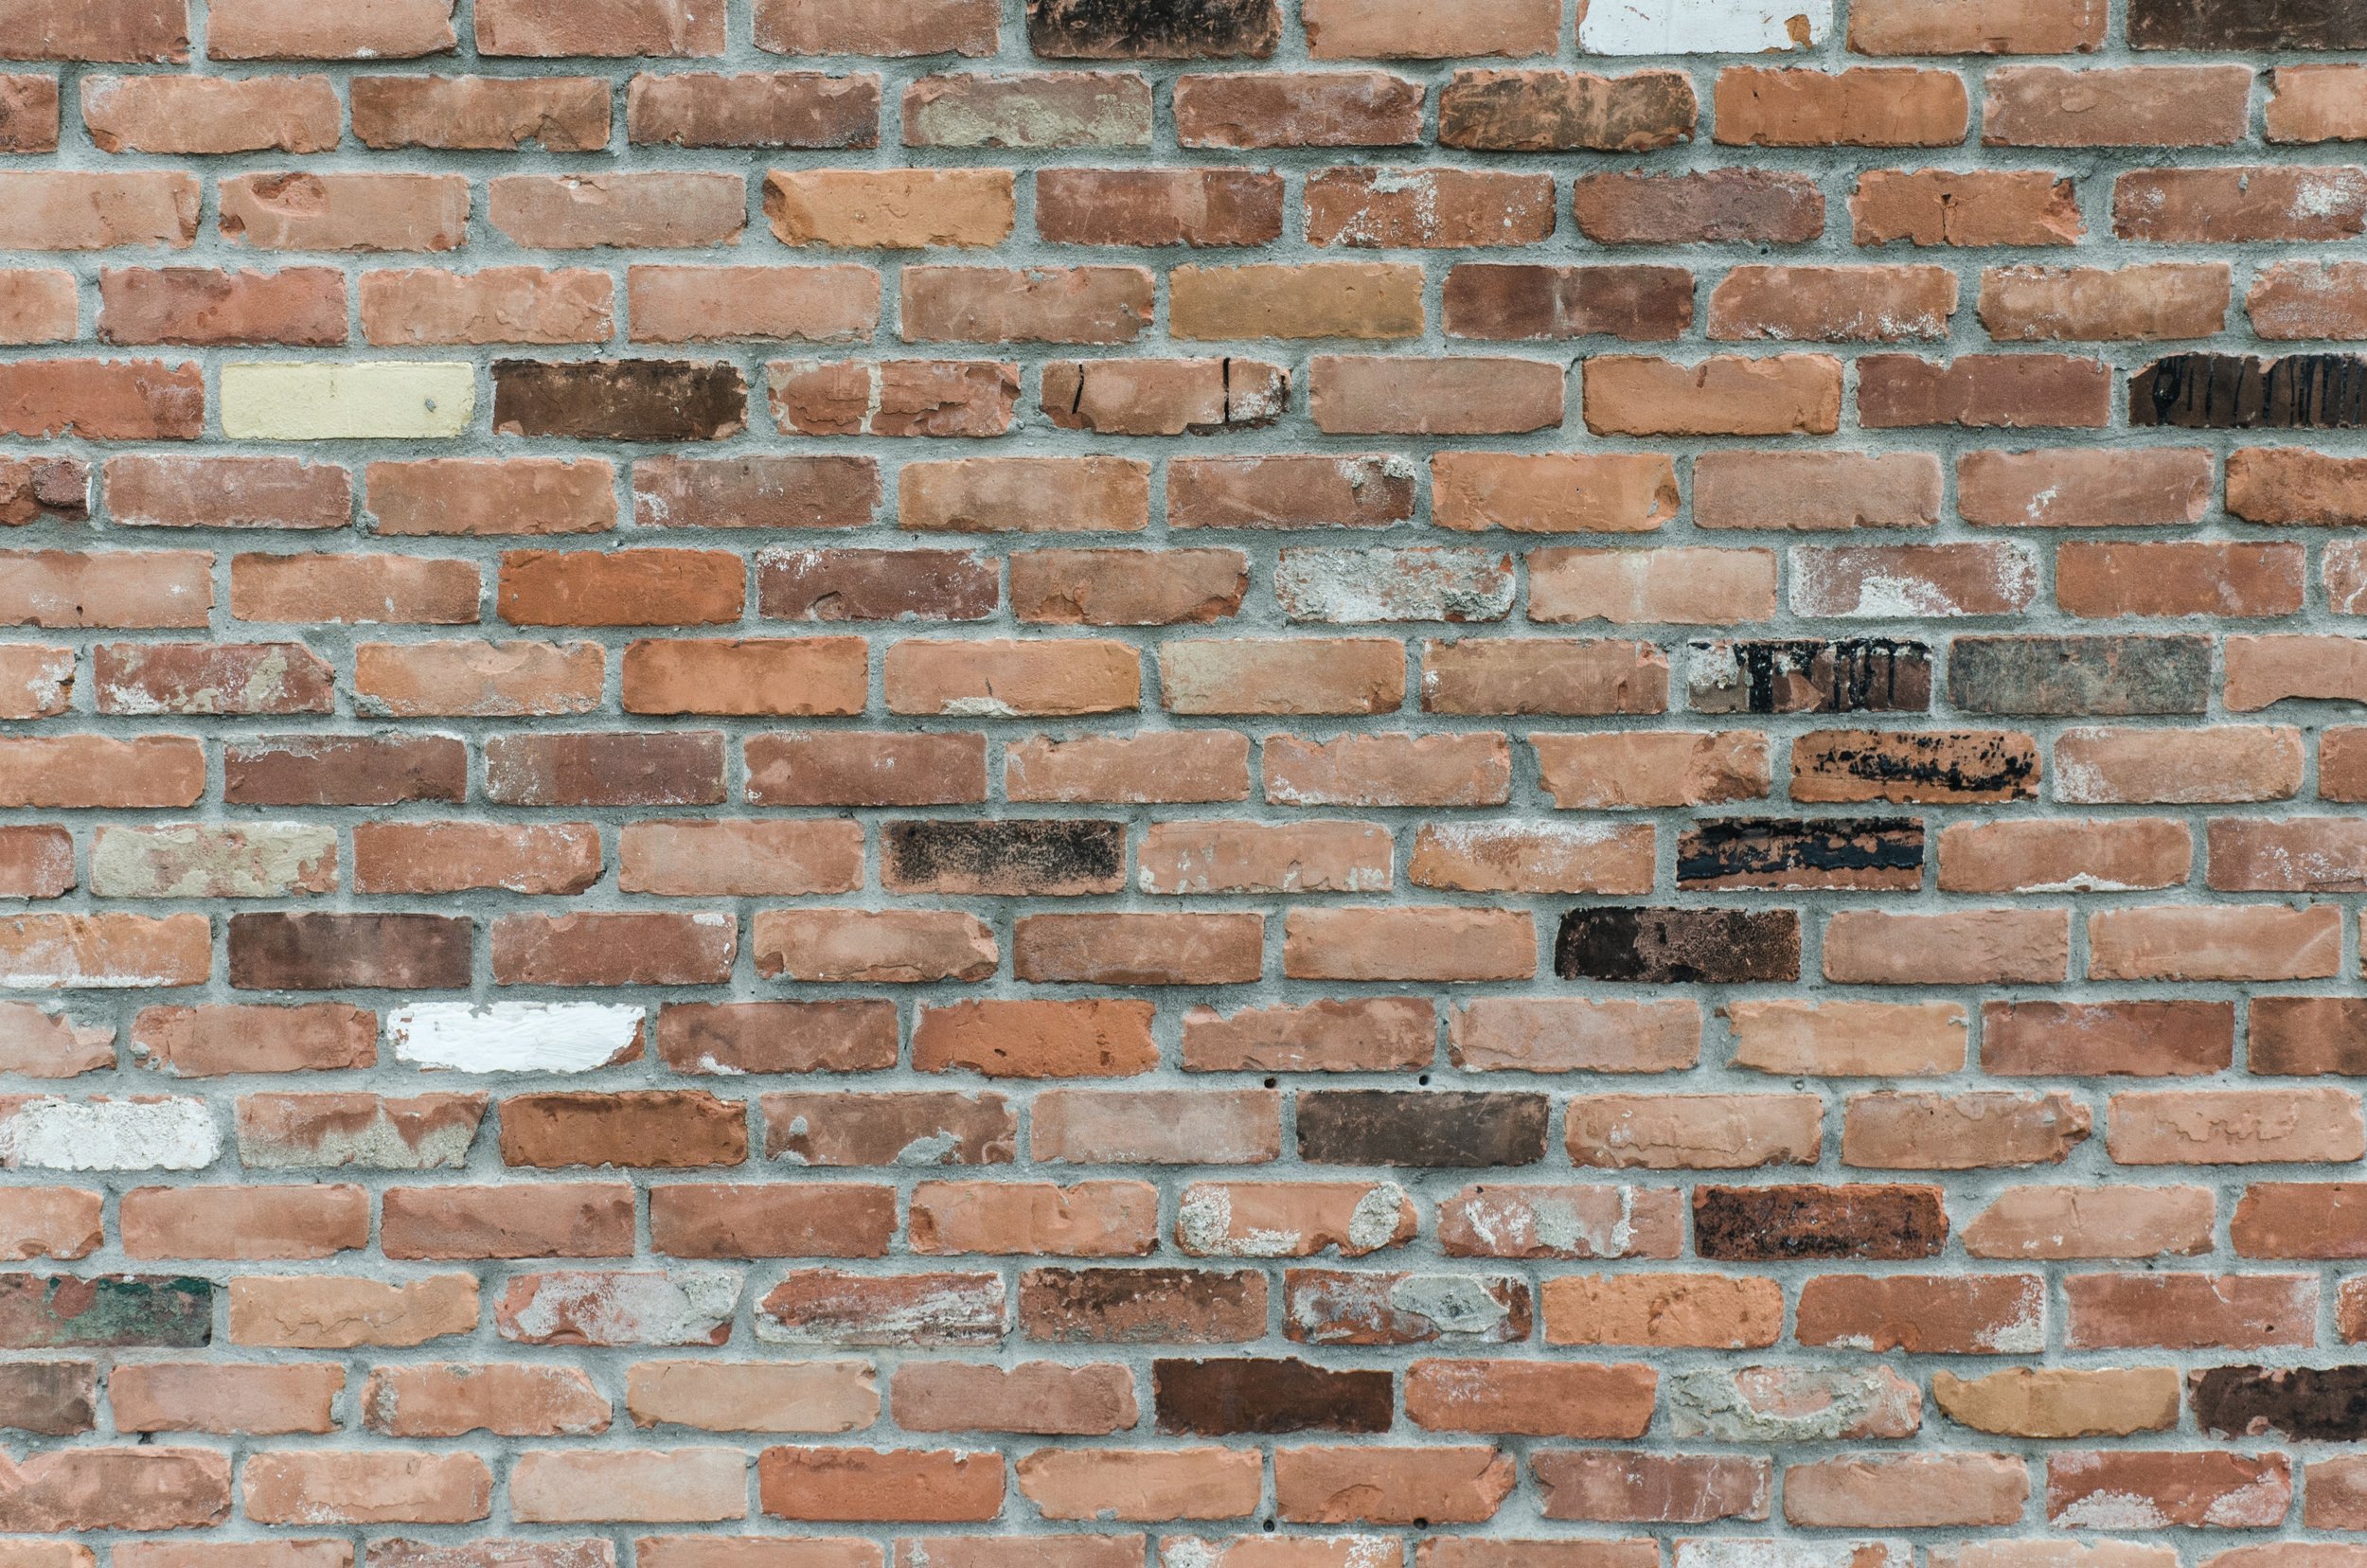
  • Metal Construction Materials: Many barndominiums utilize metal construction materials, which poses its own set of challenges. Metal buildings are constructed with large panels that can expand and contract with temperature changes, potentially creating gaps that allow air to pass through. Additionally, sealing joints between metal panels can be more challenging than sealing joints between traditional construction materials like wood and drywall.

  • Mixed-Use Spaces: The combination of living and storage or workspaces in barndominiums can also complicate the sealing process. These mixed-use areas often have different requirements for ventilation and insulation, making it challenging to create a uniform barrier against air leakage. For example, a workshop area might require more ventilation, which could conflict with the need to seal the space tightly for the blower door test.

  • Post-Frame Construction: Post-frame construction, a common method used in barndominiums, introduces unique sealing challenges. This construction style features widely spaced posts and beams, which can lead to large spans of unsupported areas that are prone to air leakage. The nature of post-frame construction also means that traditional sealing methods may not be as effective, requiring innovative solutions to ensure the structure is airtight. The integration of insulation, air barrier and vapor barriers must be carefully planned to address these gaps, and additional sealing around the base of posts and at joints can be critical to achieving the desired air tightness.

Overcoming the Challenges

Despite these challenges, passing a blower door test with a barndominium is not only possible but achievable with the right approach.

  • Detailed Planning and Design: From the outset, it's crucial to incorporate air sealing strategies into the design of the barndominium. This might include specifying materials and construction techniques that are better suited to creating an airtight seal, such as using spray foam insulation or incorporating an air barrier system that wraps around the entire structure.

  • Quality Construction Techniques: Employing quality construction techniques is paramount. This involves ensuring that all joints, seams, and connections between different materials are sealed properly. Special attention should be paid to areas prone to air leakage, such as windows, doors, and where the roof meets the walls.

  • Continuous Insulation/Air Barrier: Using continuous insulation and/or air barrier across all parts of the building envelope can significantly reduce thermal bridging, a common issue in metal buildings that can lead to air leakage. This approach not only helps in passing the blower door test but also improves the overall energy efficiency of the barndominium.

  • Mechanical Room: In the pursuit of creating an airtight and energy-efficient barndominium, one area that often gets overlooked is the mechanical room. This space, which houses the heating, ventilation, and air conditioning (HVAC) system, water heater, and possibly other utilities, is a critical zone for ensuring overall building airtightness.

    • Seal All Penetrations: Use caulk, foam, or other appropriate sealing materials to close gaps around pipes, ducts, and wires that pass through walls and ceilings. It's essential to select materials that are suitable for the temperatures and materials they will be in contact with.

    • Install an Air Barrier: Consider installing a continuous air barrier around the perimeter of the mechanical room. This can be achieved with materials like plastic sheeting or specialized membranes, which help prevent air movement between the mechanical room and the rest of the building.

    • Use Air-Sealed Doors: The door to the mechanical room should be equipped with weatherstripping and a proper threshold seal to prevent air leakage. If the mechanical room is located within the conditioned space of the barndominium, an insulated door can also help maintain temperature control.

Conclusion

Passing a blower door test with a barndominium requires a thorough understanding of the unique challenges these structures present. However, with careful planning, quality construction, and ongoing attention to air sealing, achieving an airtight barndominium is entirely feasible. Embracing these challenges as opportunities for innovation can lead to not only passing the blower door test but also enhancing the overall sustainability and comfort of barndominiums. By overcoming these hurdles, owners and builders can ensure their barndominiums are not only aesthetically pleasing but also energy-efficient and durable.

Understanding and Preventing Ice Dams

Michigan's beautiful winter landscapes come with a unique set of challenges for homeowners, notably the formation of ice dams. These icy build-ups on the edges of roofs can cause significant damage to homes. This blog aims to educate about ice dams, their impact, and effective prevention strategies.

What are Ice Dams?

An ice dam is an accumulation of ice that forms at the edge of a roof, preventing melting snow from draining off. They typically occur after heavy snowfall, followed by varying temperatures. The heat from the attic melts the snow on the roof, and the water refreezes as it reaches the colder roof edge, forming a dam.

The Impact of Ice Dams

  1. Roof Damage: Ice dams can lift shingles, leading to leaks.

  2. Interior Damage: Water seeping through can damage ceilings, walls, insulation, and even lead to mold growth.

  3. Gutter Damage: The weight of the ice can strain and damage gutters and downspouts.

  4. Safety Risks: Falling icicles from ice dams pose a safety risk to people and pets.

Preventing Ice Dams in Michigan

  1. Adequate Insulation: Ensure your attic is well-insulated to minimize the amount of heat rising to the roof, especially along the edge of the home.

  2. Proper Ventilation: Good attic ventilation keeps the roof temperature even, reducing the chances of ice dam formation. The best ventilation is a strategy with good intake (like a soffit vent) and a good escape (ridge venting)

  3. Seal Attic Bypasses: Sealing gaps and cracks that allow warm air to escape from your living space into the attic is crucial. A gasket on your attic hatch can help a ton as well!

  4. Remove Snow from Roof: Use a roof rake to safely remove snow from the edges of your roof

    after heavy snowfall.

If you already have ice dams, it's safest to call in professionals to remove them. They have the right equipment and expertise to do the job safely without damaging your roof.

While ice dams are a common problem in Michigan, understanding their causes and implementing preventative measures can significantly reduce the risk of damage to your home. Regular maintenance, proper insulation, and professional advice are key to keeping your home safe and dry during the winter months. Stay proactive and enjoy the beauty of Michigan's winters without the worry of ice dams!

How to Pass a Blower Door Test for Michigan Code in New Construction Homes

In Michigan, new construction homes are required to meet specific energy efficiency standards, one of which includes passing the blower door test. This test is crucial for ensuring that homes are airtight and energy-efficient, aligning with Michigan's building codes. Here’s a guide on how to successfully navigate and pass a blower door test in the context of new construction homes in Michigan.

Michigan's building codes set forth specific standards for airtightness in new homes. The blower door test measures the amount of air leakage in a home, and to pass, a house must demonstrate a certain level of airtightness, as of now that number is 4 air changes per hour (ACH)


Key Steps for Success

1. Know the Code:

Stay informed about the specific requirements in Michigan. The state adopts versions of the International Residential Code (IRC), which include details on airtightness standards.

2. Design with Airtightness in Mind:

From the outset, ensure your architectural plans prioritize airtightness. This includes the careful design of the building envelope, window placements, and door installations.

3. Select the Right Materials:

Use high-quality materials known for their airtight properties (caulk, foam, silicone, etc.) This includes selecting the right insulation, windows, and doors that meet or exceed the code requirements. If non drywall materials are used on walls make sure all gaps and joints are properly sealed.

4. Work with Experienced Contractors:

Choose a building team that has a proven track record of constructing airtight homes. Experienced contractors will be familiar with the intricacies of meeting Michigan's airtightness standards.

5. Focus on Detail During Construction:

Pay attention to every stage of construction. Ensure that all seams, joints, and connections are properly sealed. Special attention should be given to areas prone to air leakage such as where the foundation meets the walls, around windows and doors, and where the roof attaches to the walls.


The image above is what AI thinks a blower door test should look like… in reality its much simpler!

The Testing Process

A certified third party professional (typically HERS or BPI Rated) will conduct the blower door test, the test cannot be performed by the builder or the local building code enforcement agency. The inspector will first calculate the volume of the inside of the home. They will then temporarily install a fan into an exterior doorway of the home. The fan lowers the air pressure inside the house, allowing the higher pressure air outside to flow in through unsealed cracks and openings. The tester then measures the rate of this airflow, which determines the home's airtightness level. If your home does not pass you will have to attempt to seal any gaps or penetrations to get the home to a passing level and re-schedule a blower door test.


Passing the blower door test for Michigan code in new construction homes is a testament to quality construction and energy efficiency. By focusing on airtight design, using the right materials, and working with knowledgeable professionals, builders and homeowners can ensure their properties not only meet but exceed Michigan’s building standards. This commitment to quality brings long-term benefits, including low energy bills, better indoor air quality, increased comfort, and a positive impact on the environment.

Feel free to contact us at INK Inspections if you need a blower door in the West Michigan area!


The Importance of Roof Flashing

The roof of a home is a vital component that plays a crucial role in protecting the interior of the house from the elements. One important aspect of the roof that is often overlooked is flashing. Roof flashing is the process of installing a material, typically made of metal, around the roof's joints and penetrations to prevent water from seeping into the house.

Good roof flashing is essential for a number of reasons. The first and most obvious is to prevent water leaks from occurring. When water is able to penetrate the roof, it can cause significant damage to the interior of the home, including mold and mildew growth, which can be costly and difficult to repair.

In addition to preventing water leaks, good roof flashing can also prolong the life of the roof. When water is able to penetrate the roof, it can cause the sheathing around those areas to deteriorate more quickly and lead to the need for a new roof much sooner than it would otherwise be necessary. By installing high-quality flashing and ensuring that it is properly maintained, the life of the roof can be extended, saving homeowners money in the long run.

It is important when having a new roof installed to make sure new flashing is on the scope of work, even if the flashing looks decent it is worth the extra cost to have the flashing replaced evert time you replace your shingles.

In conclusion, good roof flashing is an essential component of a home's roofing system that plays a vital role in protecting the interior of the house from water damage, prolonging the life of the roof, and improving energy efficiency. It is important for homeowners to ensure that their flashing is properly installed and maintained, and if there are any signs of damage, to have it repaired as soon as possible. It is also recommended to have a professional inspection done to ensure your roof flashing is good condition.

What is Knob and Tube Wiring?

Knob and tube wiring is a type of electrical wiring system that was commonly used in homes built between the 1880s and the 1940s. It gets its name from the porcelain knobs and tubes that are used to hold and route the wires. While this type of wiring was once considered state-of-the-art, it is now considered outdated and potentially dangerous. In this post, we'll take a look at the basics of knob and tube wiring and why it's important to have it inspected and potentially updated in your older home.

Knob and tube wiring consists of two wires, a hot wire and a neutral wire, that are run through porcelain knobs and tubes. The knobs are used to hold the wires in place, while the tubes are used to protect the wires as they pass through joists and other structural elements. The hot wire carries electrical current to the various devices and fixtures in your home, while the neutral wire returns that current back to the service panel.

One of the main reasons that knob and tube wiring is considered outdated is that it does not have an earth ground. This means that if there is a fault in the system, there is no way for the electrical current to be safely dissipated, which can increase the risk of electrical fires. Additionally, knob and tube wiring is not designed to handle the electrical demands of modern homes, so it can become overloaded and cause a number of problems.

Another issue with knob and tube wiring is that it is often found in older homes that have been modified over the years. When new electrical circuits and devices are added to a home with knob and tube wiring, it can become overwhelmed and can't handle the increased load. Additionally, many older homes with knob and tube wiring have been rewired over the years, often by homeowners in a manner that increases the risk of problems.

If you own an older home with knob and tube wiring, it is important to have it inspected by a licensed electrician. An electrician will be able to assess the condition of the wiring and determine if it needs to be updated. This may include replacing the knob and tube wiring with modern wiring that includes an earth ground, or upgrading the service panel to accommodate the electrical demands of your home.

It's worth noting that many insurance companies are aware of the potential hazards of knob-and-tube wiring and may not cover any damage to homes that still have it installed, even if the wiring is still in good working order. So, Not only it is important for the safety of the residents but it also helps in obtaining insurance coverage.

In summary, knob and tube wiring is an outdated type of electrical wiring system that was once considered state-of-the-art but is now considered potentially dangerous. It is important to have it inspected and in most cases this wiring should be removed and upgraded to modern romex wiring. This can help prevent electrical fires and ensure that your home's electrical system is able to handle the demands of modern life.

What is Tuckpointing?

Tuckpointing is the process of repairing or maintaining the mortar between the bricks of a building's structure. It is a crucial aspect of maintaining the integrity and longevity of a building's exterior.

brick tuckpointing

Example of bricks with no mortar in between.

First, tuckpointing is important for preserving the structural integrity of a building. Mortar is the material that holds bricks together and forms the structure of a building's exterior. Over time, the mortar can degrade and erode, creating cracks and gaps between the bricks. If left unchecked, these issues can lead to the deterioration of the building's structure, potentially putting the safety of the building's occupants at risk. Tuckpointing helps to address these issues by filling in the cracks and gaps, and reinforcing the structural integrity of the building.

Second, tuckpointing is important for improving the aesthetic appeal of a building. Cracked and missing mortar can make a building appear unsightly and run-down. Tuckpointing can help to restore the original appearance of the building, giving it a cleaner, more polished look.

Third, tuckpointing is also important for protecting the building from the elements. Cracks and gaps in the mortar can allow water to penetrate the building, leading to water damage and mold growth. Tuckpointing helps to seal the building, preventing water from entering and protecting the building from potential damage.

Example of good tuckpointing on older brick wall.

In conclusion, tuckpointing is a crucial aspect of maintaining the integrity and longevity of a building's exterior. It is important for preserving structural integrity, improving aesthetic appeal, and protecting the building from the elements. Regular tuckpointing maintenance is a good practice to ensure the safety of the building and its occupants, and to maintain its visual appeal over time. It is recommended to contact a professional masonry contractor who is trained and experienced in tuckpointing to ensure the work is done correctly and to ensure a long-lasting repair

Plaster in Older Homes

Plaster is a versatile and durable building material that has been used in construction for centuries. In older homes, plaster walls and ceilings were often used to create smooth, even surfaces that were easy to paint or wallpaper. However, over time, plaster can deteriorate or become damaged, leading to a variety of problems. In this blog post, we will take a look at some of the common issues associated with plaster in older homes and discuss ways to repair and maintain it.

plaster

One of the most common problems with plaster in older homes is cracking. Cracks can appear due to a variety of factors, including settlement of the house, changes in temperature and humidity, and even earthquakes. While small cracks may not be a major concern, large cracks or those that run along a structural beam can indicate a more serious problem.

Another common issue with plaster in older homes is sagging or bulging. This can occur when the plaster is not properly supported or when it has become wet and has lost its structural integrity. Sagging or bulging plaster can be dangerous, as it can indicate a problem with the underlying structure of the house.

In addition to cracking and sagging, plaster can also become stained or discolored over time. This can be caused by water damage, exposure to smoke or chemicals, or even just age. Stains and discoloration can make a room look unsightly, but they can often be cleaned or painted over.

It is important to note that in some cases plaster can contain asbestos. Asbestos was used in a large variety of building materials pre 1970’s. As long as the plaster is in good shape the risk of releasing asbestos fibers into the air is relatively low, however you may wish to have the plaster tested if you are planning on removing large sections or have damaged areas of plaster.

To repair plaster, it's important to first assess the damage and determine the best course of action. Minor cracks and holes can be repaired with spackling compound, while larger cracks and areas of sagging may need to be reinforced with mesh and more plaster. If there is any indication of structural damage, it's important to have a professional assess the situation before attempting any repairs.

To maintain plaster in older homes, it's important to keep the walls and ceilings dry. This means fixing any leaks or water damage as soon as they occur and avoiding exposure to excessive humidity. Additionally, it's a good idea to repaint or re-wallpaper the walls every few years to protect the plaster from exposure to light and the elements.

In conclusion, plaster is a durable and traditional building material that can be found in many older homes. However, plaster walls and ceilings can be subject to cracking, sagging and discoloring over time. By understanding the common issues and taking steps to maintain and repair it properly, homeowners can ensure that their plaster walls and ceilings remain beautiful and functional for many years to come


5 (actually 6) Expensive Home Repairs

When it comes to owning a home, unexpected repairs can be a major source of stress and financial strain. While some repairs may be relatively inexpensive, others can be incredibly costly. In this blog post, we will discuss 6 common expensive home repairs that homeowners should be aware of.

  1. Foundation repairs: Foundation issues can be some of the most costly repairs a homeowner will face. If the foundation is severely damaged and requires underpinning or other structural repairs, the costs can easily reach tens of thousands of dollars. In some cases, the foundation may even need to be completely replaced, which can be a very expensive endeavor.

  2. Roof replacement: Replacing a damaged or worn-out roof can be a very costly repair. The cost will depend on the size of the roof, the type of materials used, and the complexity of the job. A typical roof replacement can cost anywhere from $8,000 to $25,000 and complicated or large roofs can cost way more.

  3. HVAC replacement: Replacing an old or inefficient heating, ventilation, and air conditioning (HVAC) system can be a significant expense. The cost will depend on the size of the home, the type of system, and the complexity of the installation. A new HVAC system for an average home normally costs between $5,000 and $15,000.

  4. Plumbing repairs: Major plumbing repairs such as replacing or repairing a sewer line or water main can be very costly. These types of repairs can easily reach $10,000 or more, depending on the extent of the damage and the materials and labor required to fix it.

  5. Electrical repairs: Updating or upgrading an electrical system can also be a significant expense. Replacing outdated knob and tube wiring, repairing or replacing electrical panels, and other electrical work can cost anywhere from $5,000 to $15,000 or more depending on the scope of the work.

  6. Mold Remediation: The presence of mold can often lead to very expensive repairs. The mold remediation itself is often thousands of dollars and usually the issue causing it is expensive to repair (leaky roof, bad ventilation, basement flooding, broken pipes, etc.)

It's important to note that these are just estimates and the actual cost of repairs can vary depending on the specific situation. As a homeowner, it's important to be prepared for unexpected repairs by setting aside money in a savings account for home maintenance. It's also a good idea to have a professional inspect your home before you purchase it and semi regularly once you are living in the home to identify any potential issues before they become major problems.

In conclusion, owning a home can be a wonderful investment, but it also comes with its fair share of unexpected expenses. Being aware of the most expensive home repairs and being prepared for them can help ease the financial burden and allow you to focus on enjoying your home.

Bathroom Ventilation 101

Bathroom fans are an essential component of proper bathroom ventilation. They help to remove excess moisture and odors from the bathroom, preventing the growth of mold and mildew and ensuring a healthy and comfortable living space. In this blog post, we'll discuss the importance of bathroom fans and the different types of bathroom fans available to ensure that your bathroom stays dry and free of harmful mold and mildew.

Excess moisture in the bathroom can lead to several problems such as the growth of mold and mildew. This can not only cause unsightly stains and musty odors, but also can lead to structural damage and potential health risks such as allergies and respiratory issues. Bathroom fans are designed to remove this excess moisture and keep the bathroom dry and well-ventilated.

The most common type of bathroom fan is the exhaust fan. These fans are typically installed in the ceiling, above the shower or bathtub, and are designed to remove excess moisture and odors from the bathroom and vent them outside. It's important to make sure that the fan is powerful enough to effectively remove moisture and odors from the bathroom, and that it is properly vented to the outside.

It's also important to note that the bathroom fan should be run for at least 20 minutes after taking a shower or bath to ensure that the excess moisture is effectively removed. New bath fans have settings or modules that can be installed to make sure they are running enough. Fans can be programmed to run when they sense motion, at certain humidity levels or even continuously at a low speed.

Bathroom fans are a crucial component of proper bathroom ventilation. They help to remove excess moisture and odors, preventing the growth of mold and mildew and ensuring a healthy and comfortable living space. It's important to select the right type of fan and ensure that it's properly installed and ventilated to the outside. By taking these steps, you can create a dry and well-ventilated bathroom, which is essential for your health and home's longevity.

Pro Tip: There are bathroom fans with plugin modules that can help make your bath ventilation foolproof. There are also specialty wall switches with built in sensors if you don’t need a new fan. The best sensor I have used is the humidity sensor; when the bathroom humidity hits a certain level the bath fan automatically turns on. This sensor is very useful if you normally forget to turn on the fan before jumping into the shower.

Danny Geurink, BPI Building Analyst and Certified Master Inspector at Ink Ink Inspections

The Importance of Gutters and Grading for Your Home's Health

As a homeowner, you probably know that there are a lot of things to keep track of when it comes to maintaining your home. However, two things that are often overlooked are gutters and grading. While they may not be the most glamorous aspects of your home, they are incredibly important for the overall health and longevity of your property.

Gutters play a critical role in protecting your home from water damage. They are responsible for directing rainwater away from your foundation and into appropriate drainage systems, such as downspouts and underground pipes. Without properly functioning gutters, water can seep into the structure of your home, causing damage to walls, ceilings, and even the foundation. This can lead to costly repairs, not to mention a potentially dangerous living situation.

Proper grading is another essential aspect of protecting your home from water damage. Grading refers to the way in which the soil and landscaping around your home slopes. Ideally, the soil should slope away from your foundation, so that water will not accumulate around it. If the grading is not done correctly, water can collect around the foundation, which can lead to a host of problems, including leaks, cracks, and even foundation failure.

In addition to protecting your home from water damage, proper gutters and grading can also help to prevent pests from entering your home. Standing water can attract insects and other pests, which can then find their way into your home through cracks and gaps in the foundation. Properly functioning gutters and proper grading can help to keep water away from your home, making it less attractive to pests.

In short, gutters and grading are essential components of maintaining a healthy home. Regularly inspecting and cleaning your gutters and making sure that your grading is correct can help to prevent costly repairs and protect your home from water damage and pests. If you're not sure if your gutters and grading are up to par, it's a good idea to hire a professional to take a look and make recommendations for any necessary repairs or improvements.

It's also important to mention that even the best gutters and grading systems can fail after some time. So its is a good idea to schedule regular inspections of these systems to make sure they are functioning properly, this way you can take care of issues before they become major problems.

By taking care of your gutters and grading, you can ensure that your home is protected and that it will last for many years to come.